Spicy Mulled Cider Caramels
The perfect cold weather caramel.
There are many things I look forward to when the cooler weather comes in. Apples are one of them! Apple pie, apple butter, apple spice cake, and a favorite around here mulled cider. I could go on and on with the love of apples in this household. Coming up with a unique Caramel recipe took many years of trial and error. Reviewing recipes from different cookbooks and testing what would work in our AZ climate. Today I share with you the one method that gets all the wow, mmm's, and amazement.
Prep time: 1 20 minutes total time- 3 hours and 20 minutes
Serves: 64 pieces
The perfect caramels took 6 years of testing, combining techniques, and experimenting.
KITCHEN TOOLS NEEDED
6 prep bowls
8” x 8” baking tin
Parchment paper
Pastry brush
Large saucepan
Measuring cups
Candy thermometer
Silicone spatula
INGREDIENTS
YBL Mulled Cider Caramels
4 cups of unfiltered honeycrisp juice (freshly juiced or bottled but with no added sugar)
1 stick of butter cubed
1 cup of sugar
1/2 cup of dark brown sugar
1/3 cup of heavy cream
1/2 tsp of ground cinnamon
1/4 tsp of ground allspice
pinch of ground clove
pinch of ground nutmeg
1 tsp of salt (up to 2 tsp if you are using flake salt)
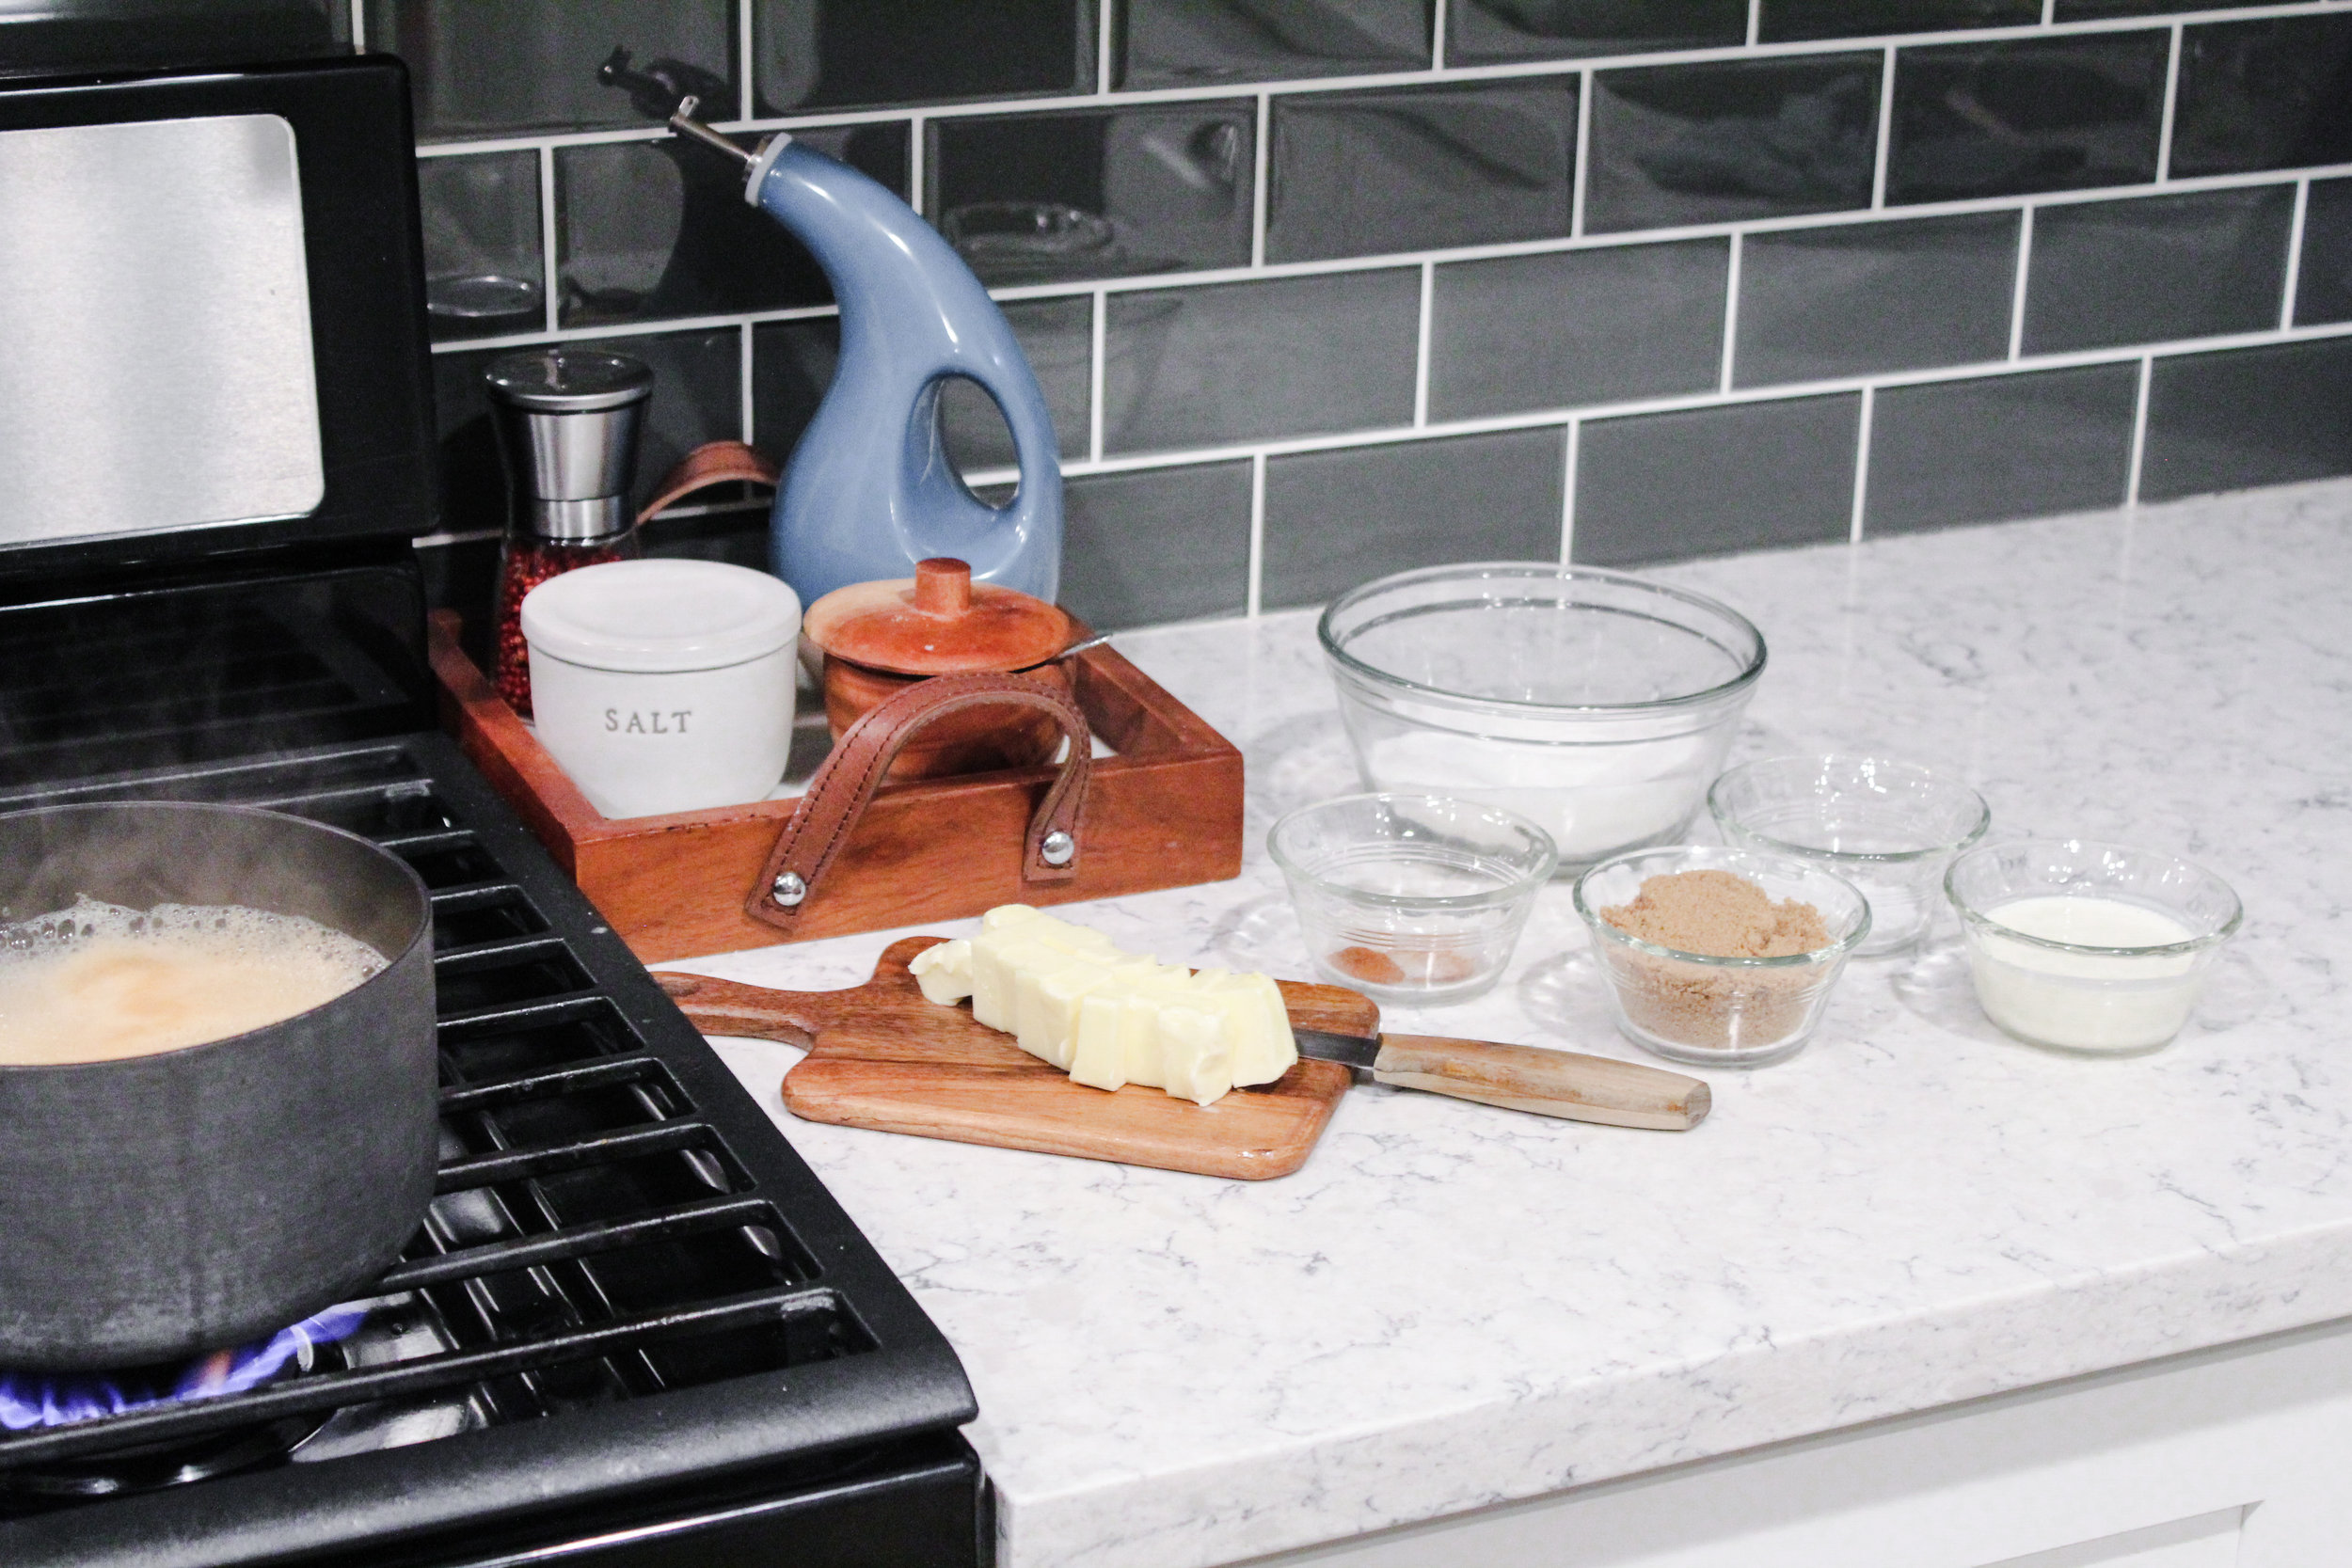
While reducing the honeycrisp juice prep the remaining ingredients.
INSTRUCTIONS
Reduce 4 cups of honeycrisp juice over high heat until it’s 1/3 cup of liquid. This can take 30+ minutes. When sufficiently reduced it will be a dark brown and a maple syrup consistency.
While reducing, measure out and prep additional ingredients. Prepare an 8” x 8” baking tin lining with parchment paper going both directions to make a cross.
Once reduced remove from the heat and add in sugars, cream, and butter. Stir until butter is melted and sugars are dissolved.
Clip on a candy thermometer and return to a medium-high heat bringing to a boil.
Cook until the candy thermometer registers 255°F (well over the hard boil stage).
Remove from the heat and stir in spices and salt. Stir until spices and salt are dissolved and well distributed throughout the mixture.
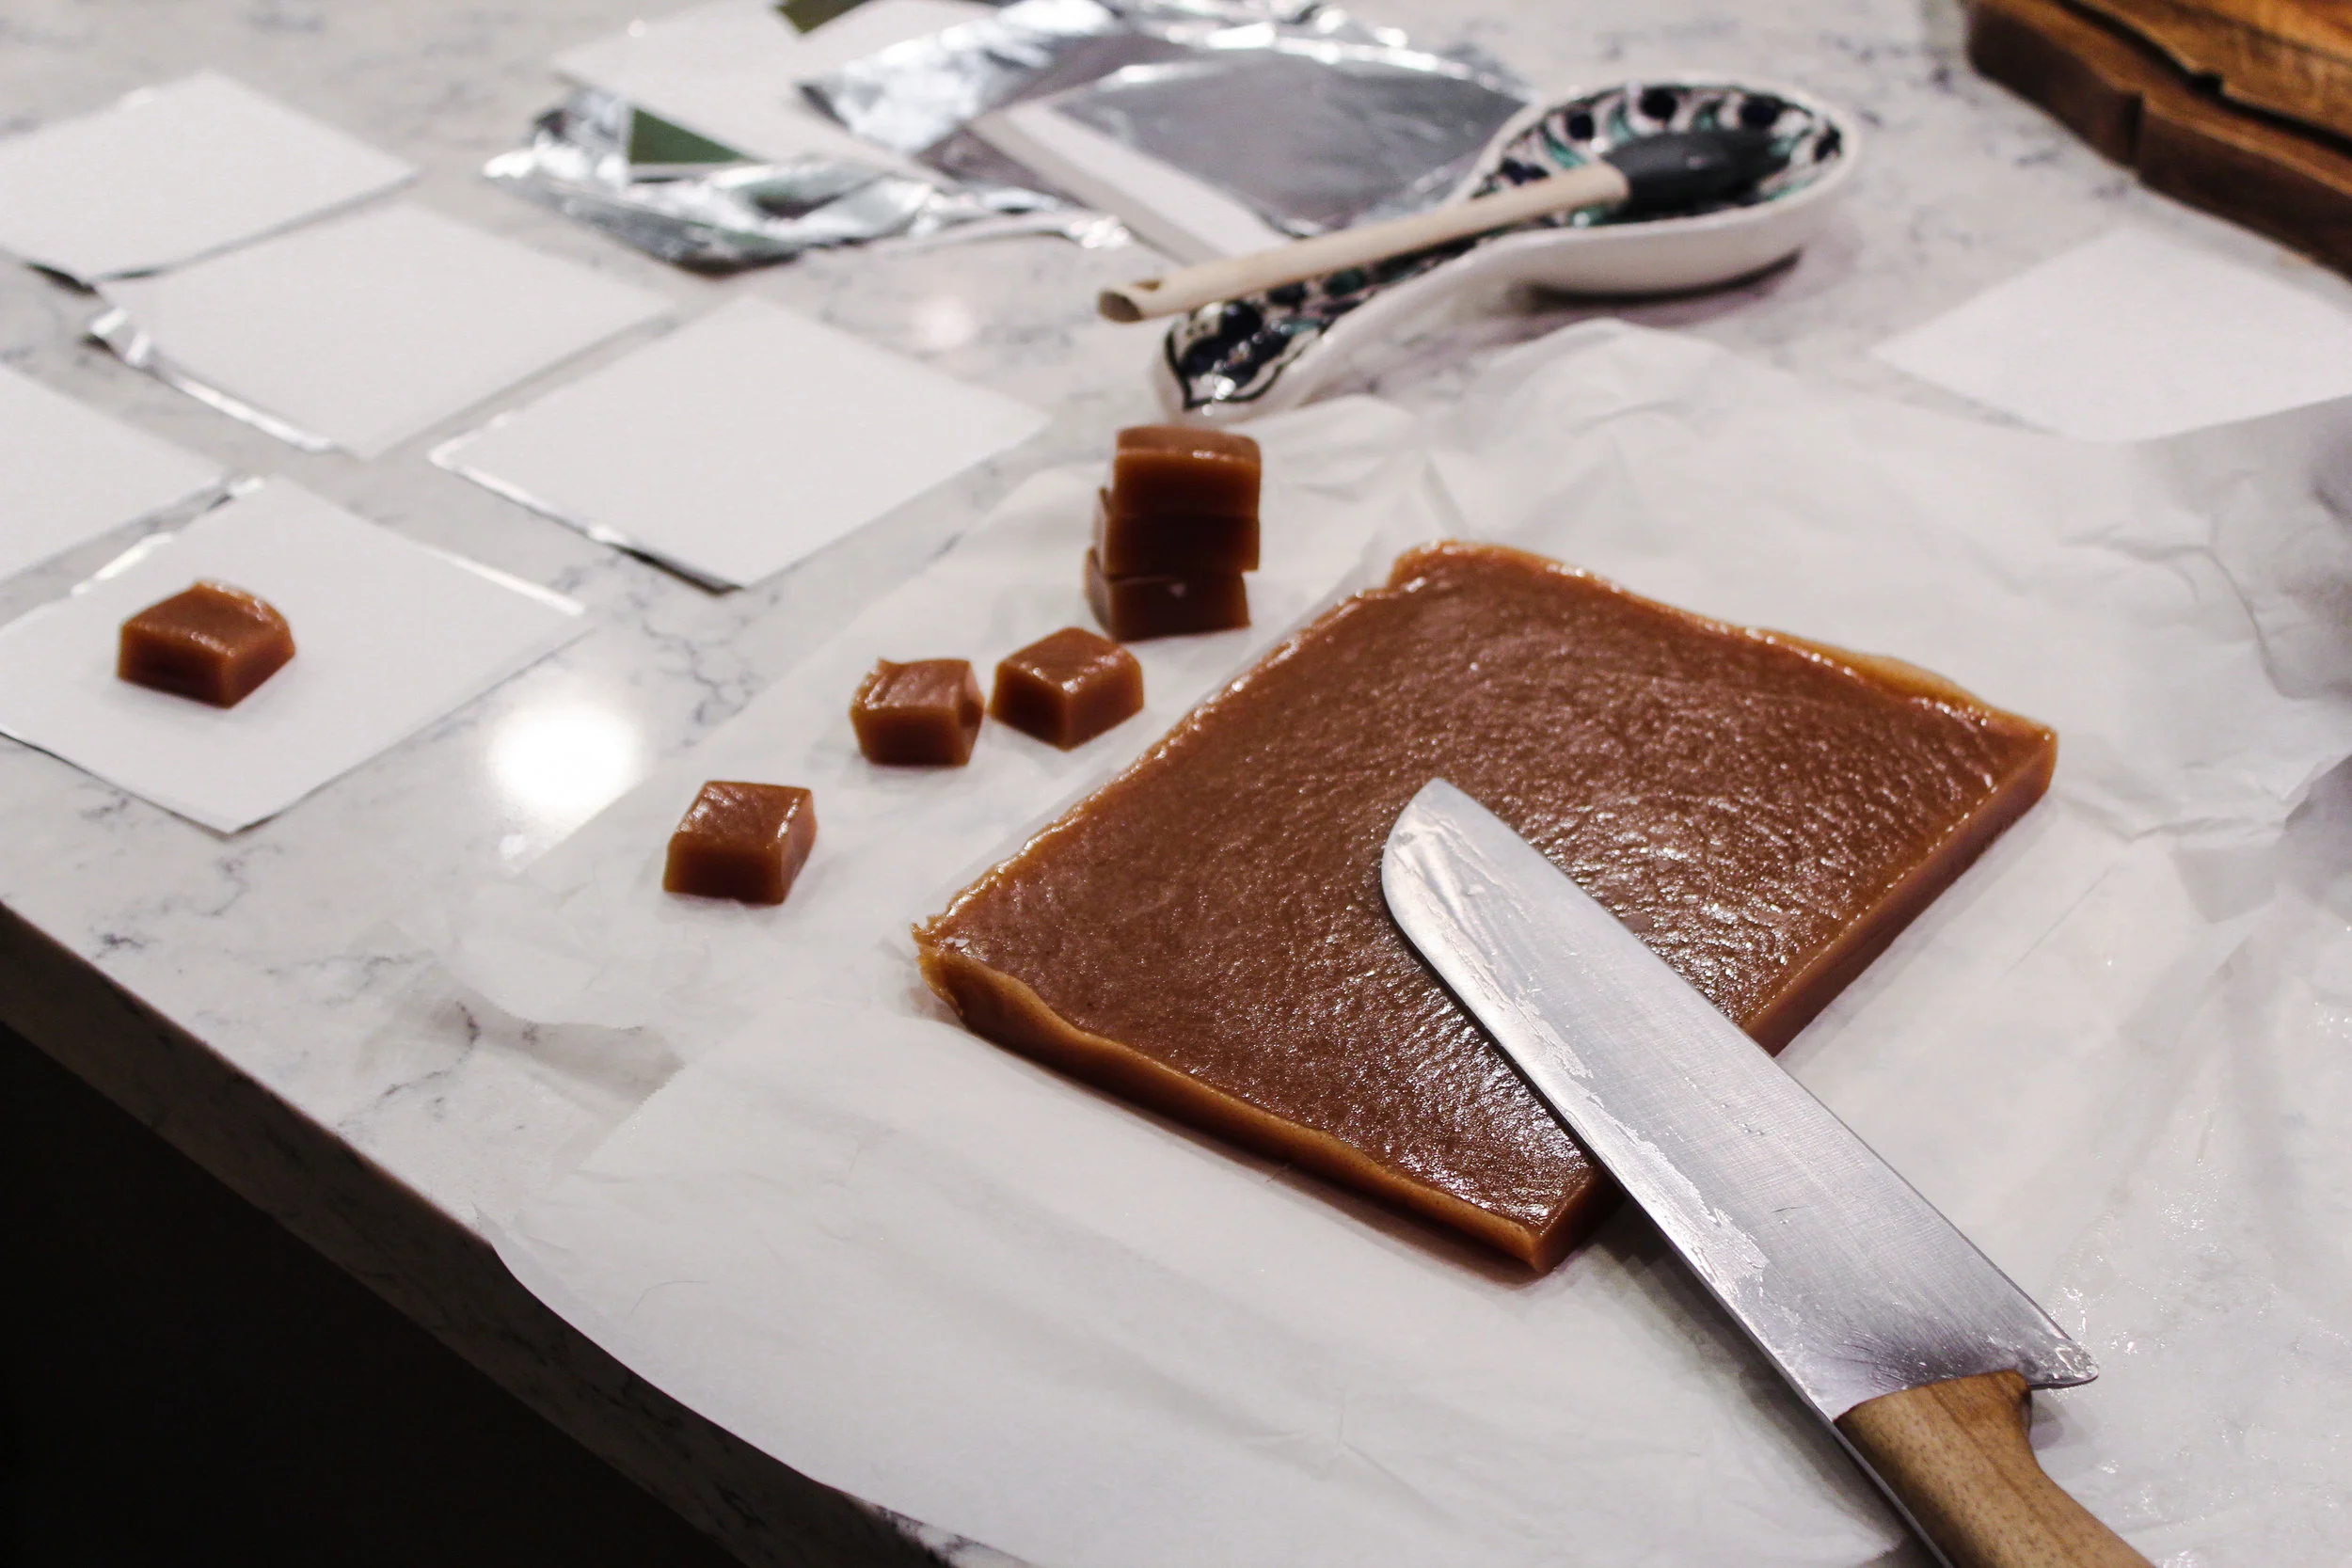
Pour into the 8” x 8” lined tin. Set in the fridge to cool, about 2 hours. I kept mine overnight before cutting into 1” squares. Make sure you oil your knife, it makes cutting so much easier!
Every year I make these they are the quickest to disappear. It’s one of the most requested candy recipes I make. I really do hope you enjoy them. Let me know how they turn out for you in the comments below.
